Who’s ready to learn how to make digital paintings in Photoshop (or whichever imaging program you have) the quick and easy way?
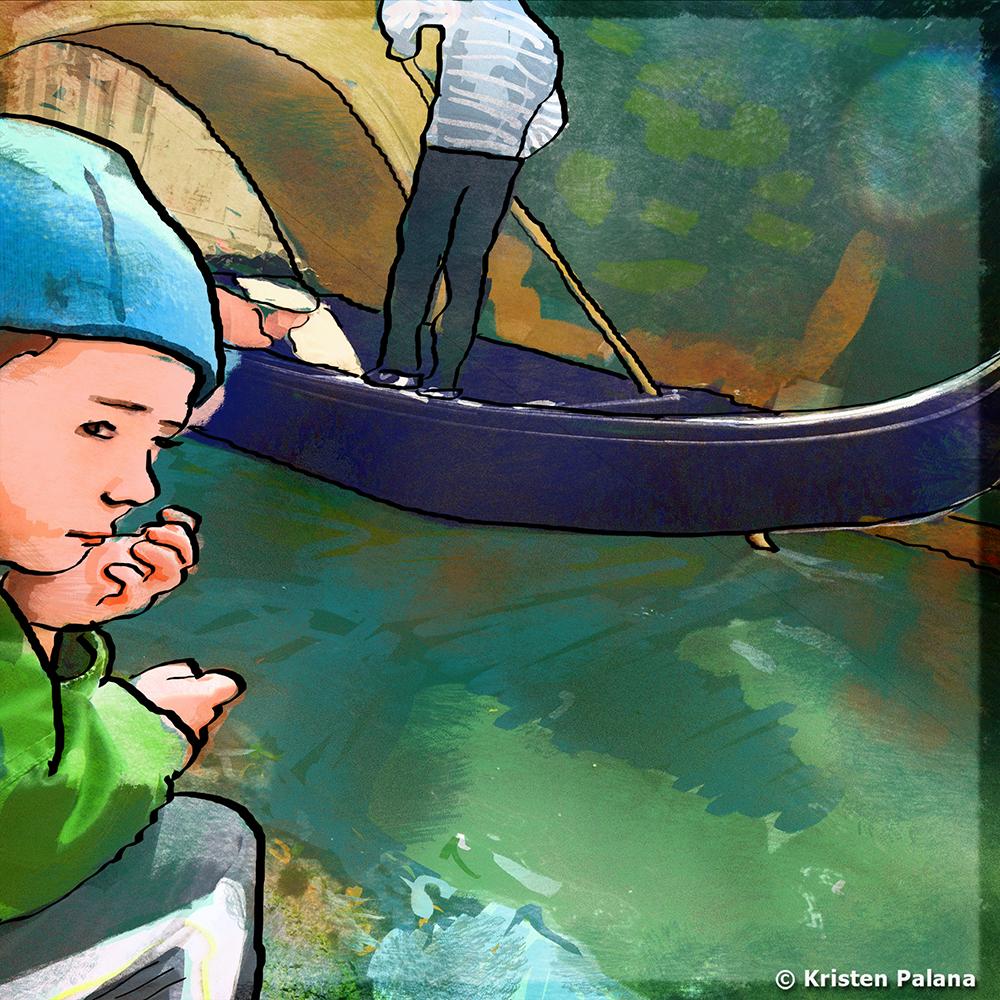
This is a simple tutorial “cheat-sheet” that explains how I easily created a digital painting made from a photo I took in Venice a few weeks ago. I chose this image to work with because my son looks dreamy and is turning away from the usual attraction of a gondola passing under a bridge.
1.) First I placed the photo down and added a very slight artistic filter to it. I usually like “drybrush.”
2.) I then made an underpainting in a layer below the photo with really vibrant colors.
3.) Next I made an “overpainting” in the layer above the photo. I adjusted the opacity on all layers to play around with what shows through and how much.
4.) Then I made another layer on top that was just the black line drawing.
5.) Finally I went into the photo layer with a very “spluttery” eraser and tap tap tapped to eat away at the original photo. If you look closely though you can see where some parts remain.
6.) Finally I finished things off by flattening all layers and dragging the burn tool around the edges for a stylized look.
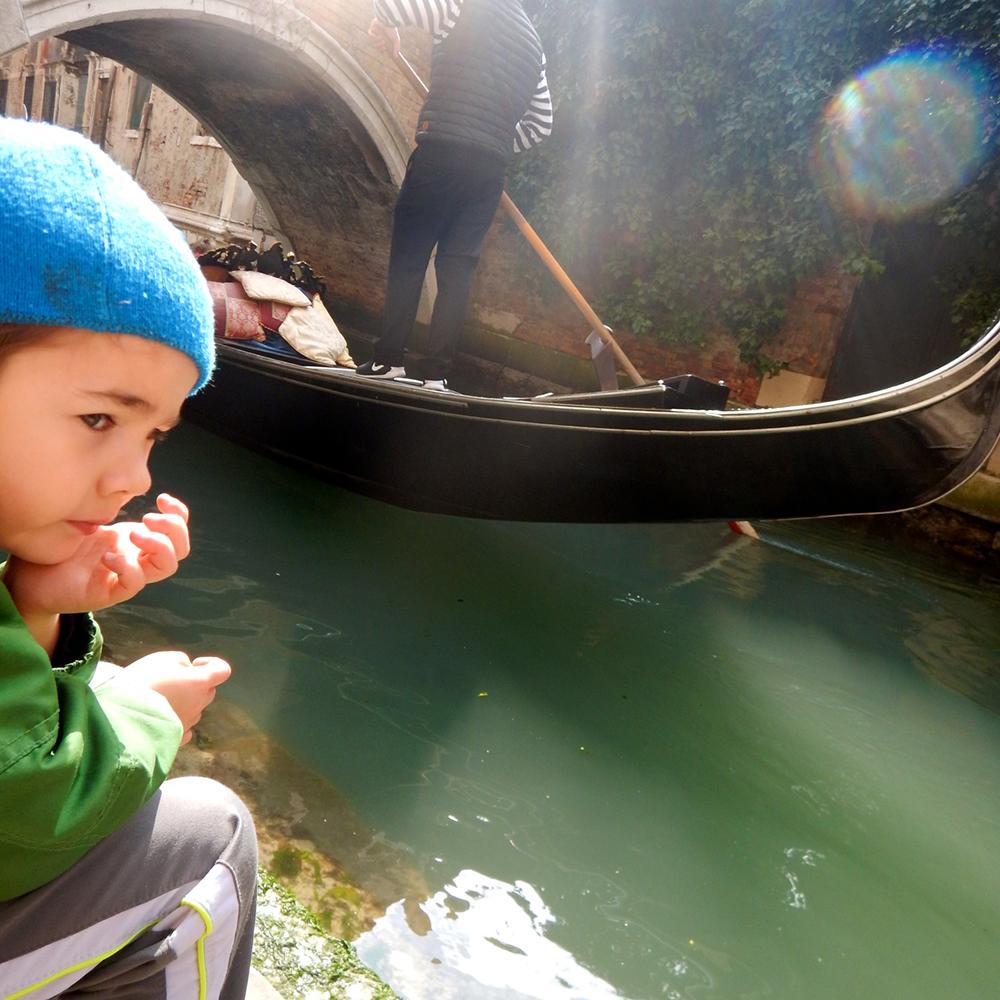
Here is the original photo:
Meet my good friend the Mixer Brush Tool:
Finally, here is a sample lesson that talks about my VERY FAVORITE brush to use in Photoshop.
Now it’s your turn! Don’t be shy. What are you working on? Please post your links to your images in the comments.
Best wishes,
Kristen
PS. You can see more of my images created with this technique (and watch me make one step by step) in the free sample lessons inside my new course Photoshop: Quick and Easy Digital Painting Like a Professional.


